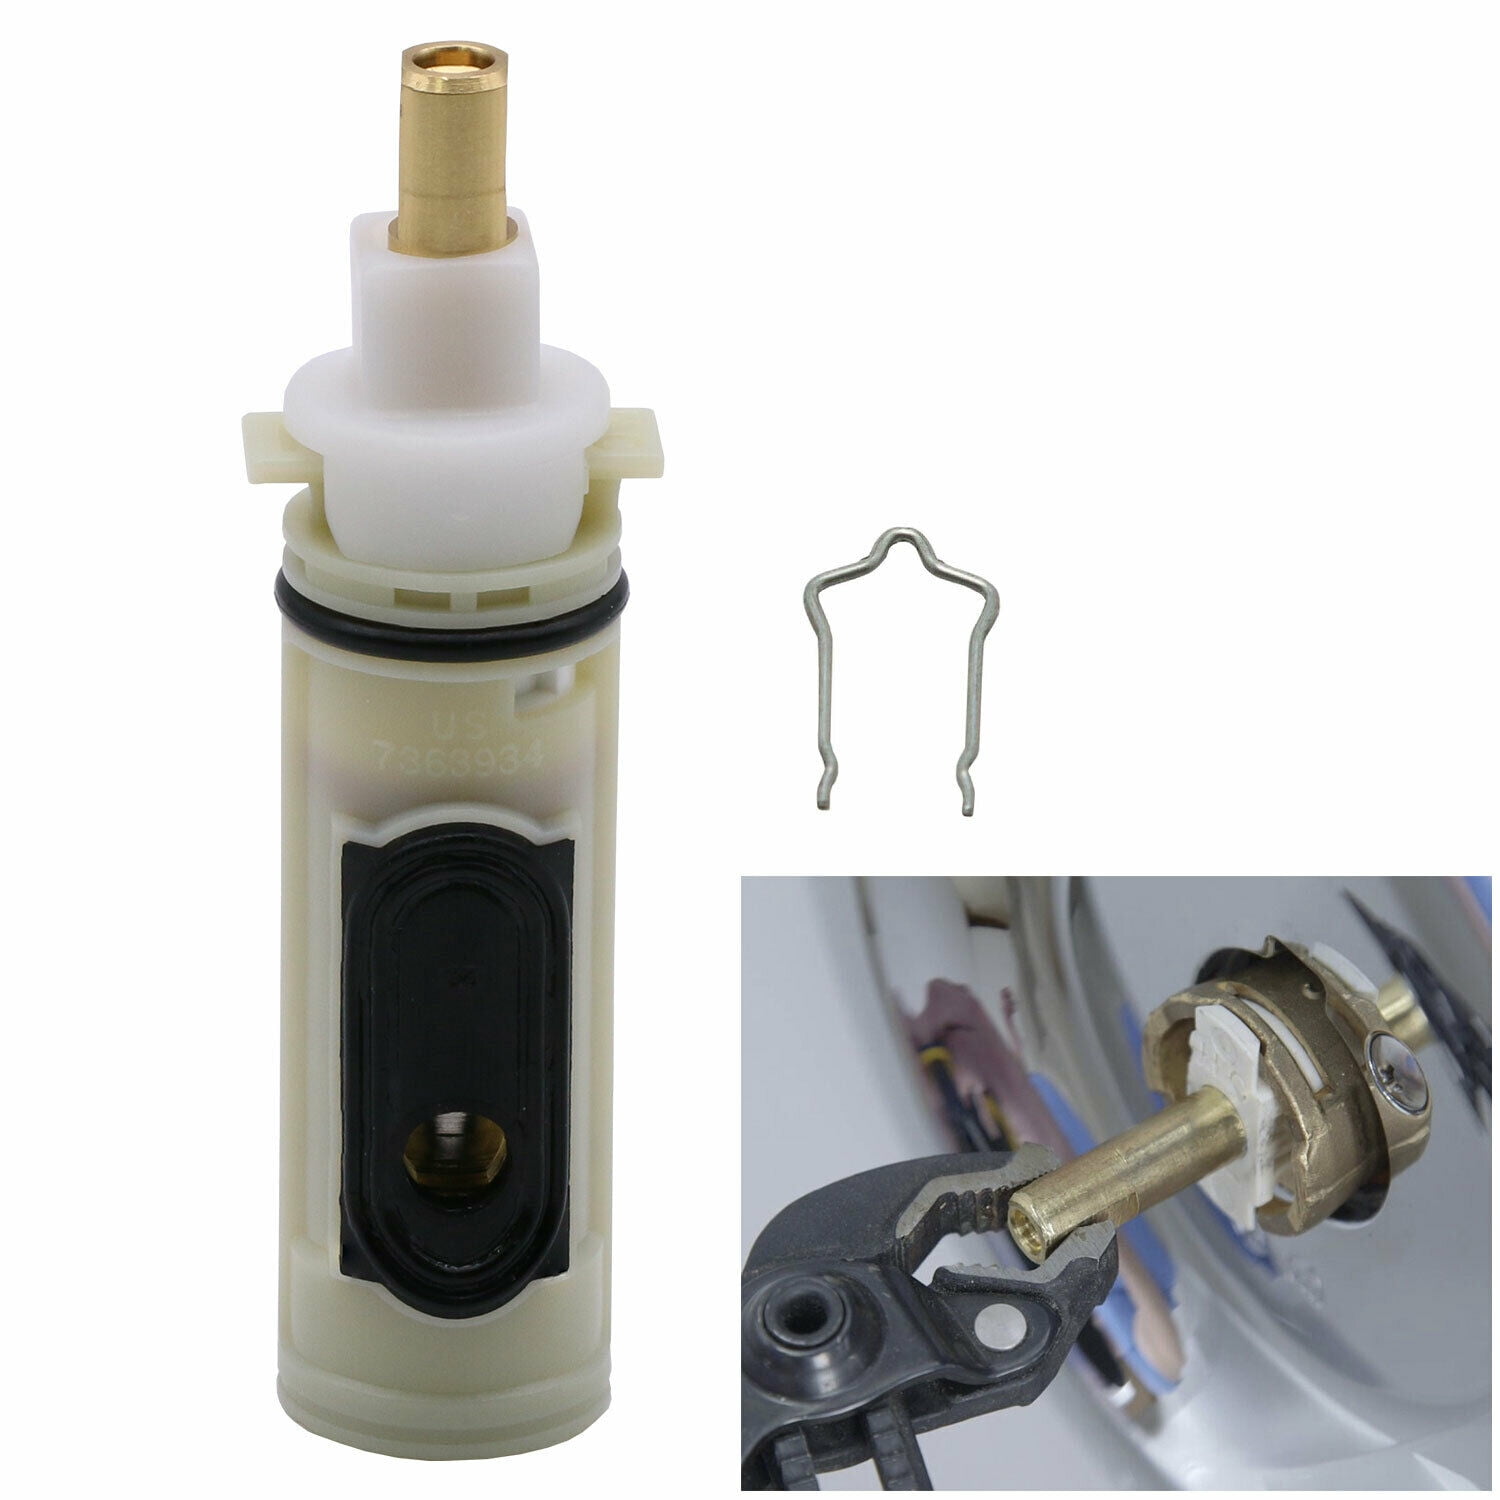
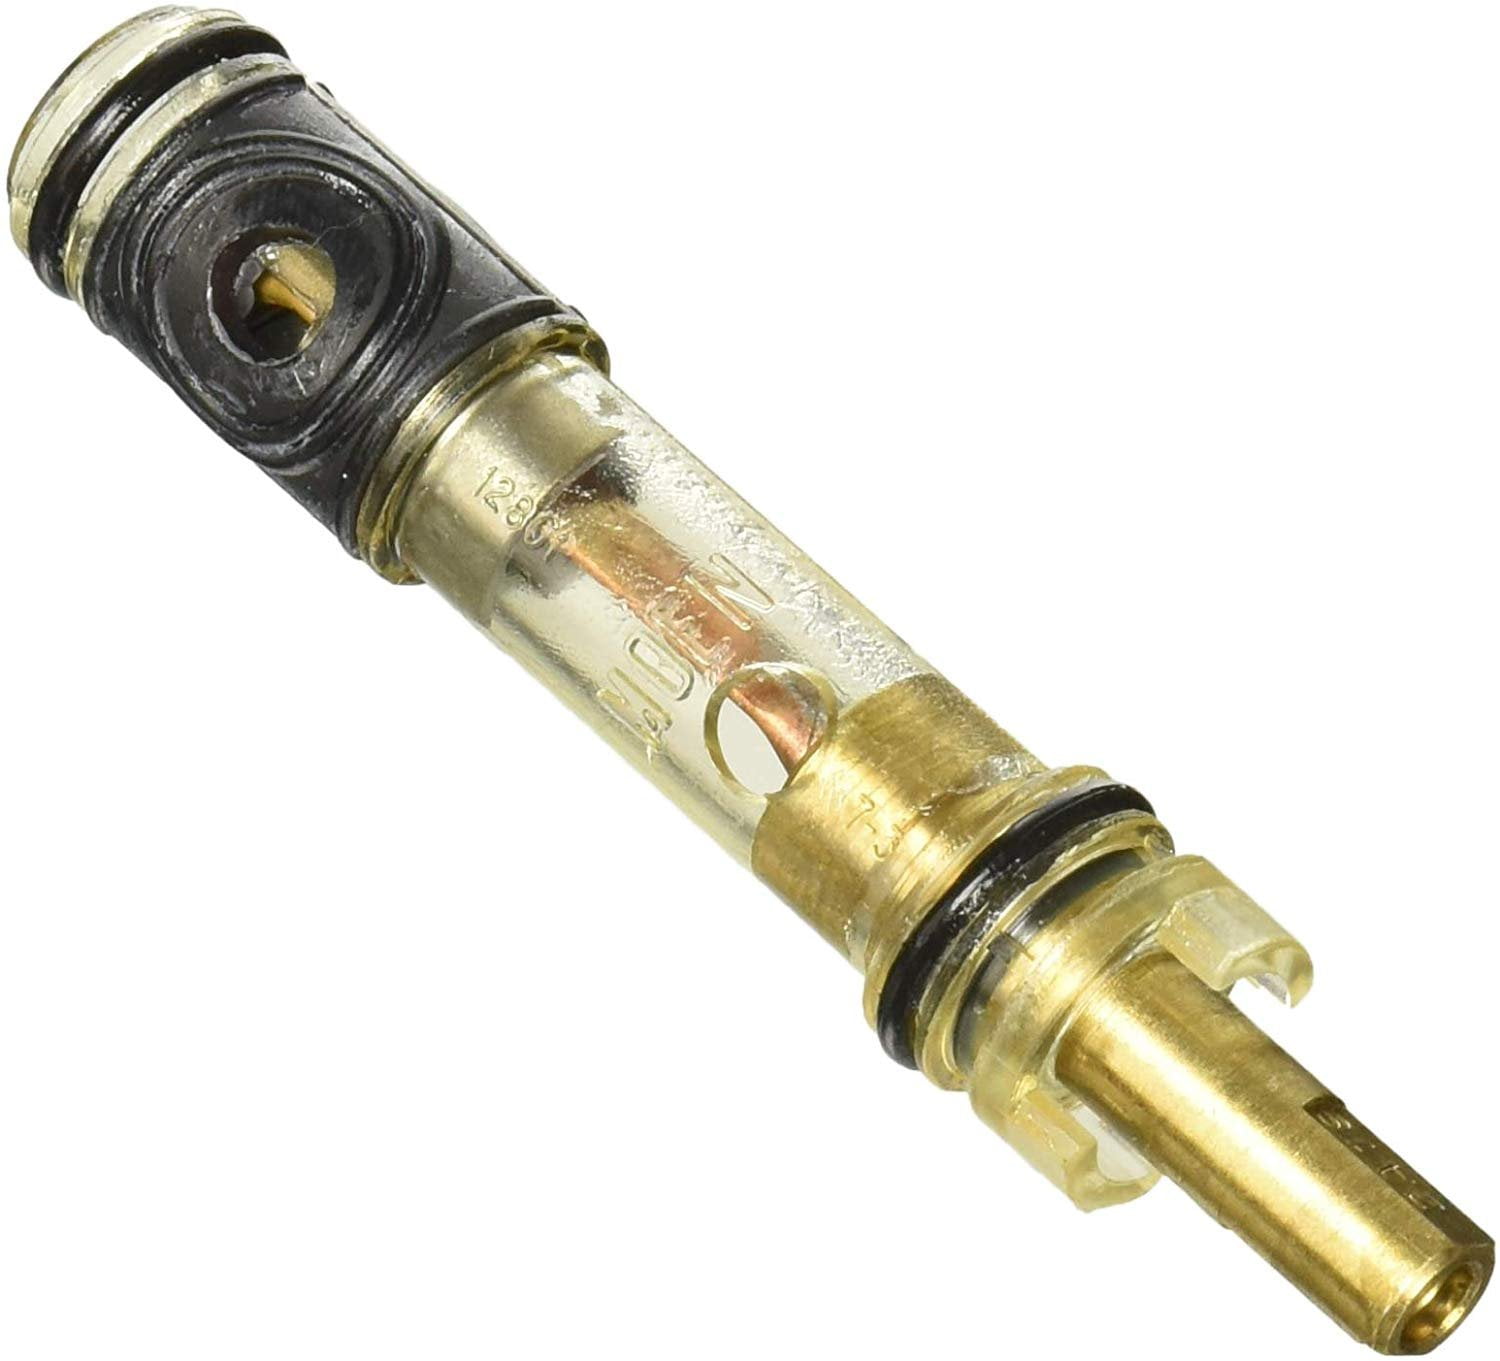
Understanding Moen Bathroom Faucet Cartridges: How To Replace A Moen Bathroom Faucet Cartridge

The Moen bathroom faucet cartridge is a vital component responsible for controlling water flow and temperature. It’s a small but essential part that houses the internal mechanisms that allow you to turn the water on and off and adjust the temperature. Over time, these cartridges can wear out, leading to various issues with your faucet. Understanding how these cartridges work and identifying signs of wear can help you address problems quickly and efficiently.
Signs of a Worn-Out Cartridge
A worn-out Moen bathroom faucet cartridge can manifest in several ways, often impacting the functionality and usability of your faucet. Here are some common signs:
- Leaking Faucet: A leaking faucet is a clear indication that the cartridge is no longer sealing properly. Water may drip from the spout, the base of the faucet, or even from the handle itself.
- Difficulty Turning the Faucet: A worn-out cartridge can make it harder to turn the faucet on and off. You might experience a stiff, gritty feel when turning the handle, or it may feel like it’s stuck.
- Temperature Control Issues: The cartridge is responsible for regulating water temperature. If you’re experiencing difficulty maintaining a consistent temperature or the water flow suddenly changes from hot to cold, the cartridge might be faulty.
- Low Water Pressure: A worn-out cartridge can restrict water flow, leading to a decrease in water pressure. This can make it difficult to get a good flow of water, even when the faucet is fully open.
Types of Moen Cartridges
Moen offers a variety of cartridges designed for different types of faucets. These cartridges are specifically engineered to fit specific faucet models and provide optimal performance. Understanding the different types of cartridges can help you identify the correct replacement for your faucet.
- Single-Handle Cartridges: These cartridges are used in single-handle faucets, where a single lever controls both water flow and temperature. They typically feature a ceramic disc that provides a smooth and precise control over water flow.
- Two-Handle Cartridges: These cartridges are found in two-handle faucets, where separate handles control hot and cold water flow. They typically use a rubber or plastic O-ring to seal the water flow.
Gathering the Necessary Tools and Materials
Before embarking on the replacement process, ensure you have the right tools and materials at hand. This will make the job easier and prevent unnecessary delays.
Tools Required
Having the right tools is crucial for a smooth and successful faucet cartridge replacement.
- Adjustable Wrench: Used to loosen and tighten nuts and bolts, particularly those securing the faucet handles and the faucet body itself.
- Channel-Lock Pliers: Provide a secure grip on various shapes and sizes of nuts and bolts, especially those in tight spaces.
- Phillips Screwdriver: Required for removing screws that may hold the faucet handle or the faucet body in place.
- Flathead Screwdriver: Used for removing decorative caps or covers that may obscure the faucet cartridge access.
- Needle-Nose Pliers: Useful for manipulating small parts, like the cartridge retaining clip or O-rings.
- Small Basin or Bucket: To catch water that may drain from the faucet during the replacement process.
- Towel or Rags: For wiping up spills and keeping the work area clean.
Materials Needed
The materials needed for this project are straightforward and readily available.
- New Moen Cartridge: The most important material, ensuring a proper fit and optimal performance.
- New O-rings: Replace worn-out O-rings to prevent leaks. It’s advisable to replace all O-rings during the cartridge replacement process.
- Teflon Tape: Used to seal threads on the faucet body and prevent leaks. This is especially important when reattaching the faucet spout.
- Silicone Grease: Apply a thin layer to the new O-rings to prevent them from drying out and cracking, ensuring a tight seal.
Installing the New Cartridge

Now that you have the old cartridge out, it’s time to install the new one. The process is essentially the reverse of removal, but with a few key points to keep in mind for a smooth and leak-free installation.
Installing the New Cartridge
First, inspect the new cartridge. Make sure it’s free of any debris or foreign objects that could hinder its smooth operation. Then, carefully align the new cartridge with the faucet body. Ensure the cartridge’s stem aligns with the faucet’s stem hole, and the cartridge’s base aligns with the faucet’s base. This alignment is crucial for preventing leaks and ensuring proper functionality.
Securing the New Cartridge
Once aligned, gently push the new cartridge into the faucet body. Use the provided O-rings or washers, if any, to ensure a tight seal. You might need to apply a bit of pressure to fully seat the cartridge.
Preventing Leaks During Installation
To prevent leaks, avoid overtightening the cartridge. Use a wrench or pliers to tighten the cartridge’s retaining nut, but don’t apply excessive force. You want to create a secure connection without damaging the cartridge or faucet.
Final Check, How to replace a moen bathroom faucet cartridge
After installing the new cartridge, turn the water supply back on. Check for leaks around the cartridge and the faucet body. If you notice any leaks, carefully re-tighten the retaining nut, ensuring you don’t overtighten it.
